Saturday 30 April 2011

Completed Dresden QAL & other works!

I went away this week armed with projects, bags of scraps, cutting mat & ruler and of course Mr Pfaff!

I got my Dresden Plate Quilt finished - (the Lily's Quilts Quilt Along) - hooray! 


Check out the QAL Flickr Group for other amazing creations.

A big THANK YOU to Lynne of Lily's Quilts for hosting/directing & inspiring us through a fab Quilt Along.

I made a start on the Aneela Hoey (Comfort Stitching) Crazy Scrappy Blocks QAL.


These were such a lot of fun to make!  I love using scraps and the crazy patchwork technique, so these were a dream to make.

I have 5 more blocks to make for what will be a long awaited throw for my eldest daughter.

I even got a few granny squares crocheted to add to my slowly growing throw!


So all in all a productive week doing non-work projects. Delightful!

Friday 29 April 2011

A fabulous Week!

I've just returned from a wonderful, sunny week at the coast with my family. 

Tomorrow I hope to blog about the projects I was able to progress.  But for now, here are some pics I took which inspired me or made me smile.


The wee pad we were staying in .................. not!


Root system


Sunrise


Some of my beach combing treasures!


Saturday 23 April 2011

Easter Break!

Tomorrow I'm off to the coast with my family for a wee Easter break, so I won't be near my computer for a few days. 

I will miss blogging and flickr chats but I'm hoping to sneak my trusty Pfaff into the car when no-one's looking!

So I might have a few projects to share with you when I get back.

In the meantime here's a snippet of a 'work in progress'.


I wish you all Easter blessings during this season of remembrance.

Friday 22 April 2011

Classes Roundup!

Well all my classes are finished now for the Easter Holidays.  I hope you enjoy looking at the creations of some very talented ladies.

Gorgeous doorstops!

Not yet filled with peas!

More cute baskets & a floor cushion in the foreground!  Look closely at the yellow basket - there's a gorgeous matching coaster snuggled inside!  What a lovely Easter gift.

Yes, that is a Christmas basket in April!  You can't see it in this photo but there's a Christmas coaster in the basket too! Getting gifts organised early!!

Isn't this coaster modern & chic!  It will become a set of 4.

The Oasis Community Group


Well done ladies!  You've done me proud!

I wish you a very happy (& creative!) Easter break.  Enjoy your creations and I look forward to seeing you all again after Easter.

Thursday 21 April 2011

Rag Quilted Picnic Rug

I love rag quilting!  Even though it's messy (threads everywhere!) I love the end result when you pull it out of the tumbledryer and everything is fluffy and cuddly.

I'll be teaching this technique to my class in June so thought I'd better rustle one up for them to see.


Modelled by daugher no. 3

.... and daughter no. 2 + dog (with slipper!) gets in on the action!
This is a great method of quilting for those of you daunted by quilting larger pieces (like me!) as each of the 'bricks' get quilted separately and then joined together.

Wednesday 20 April 2011

Rainbow Binding Tutorial

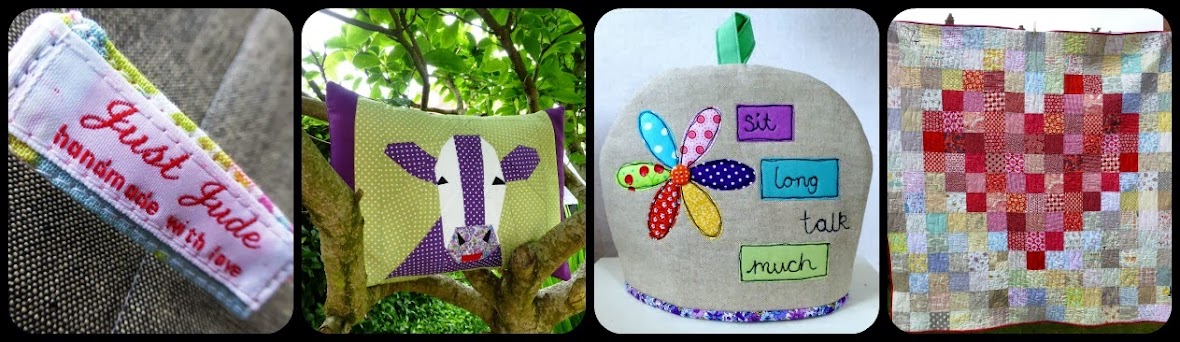
As promised here is a tutorial on how to make the rainbow binding you can see on my Eye Spy Quilt!

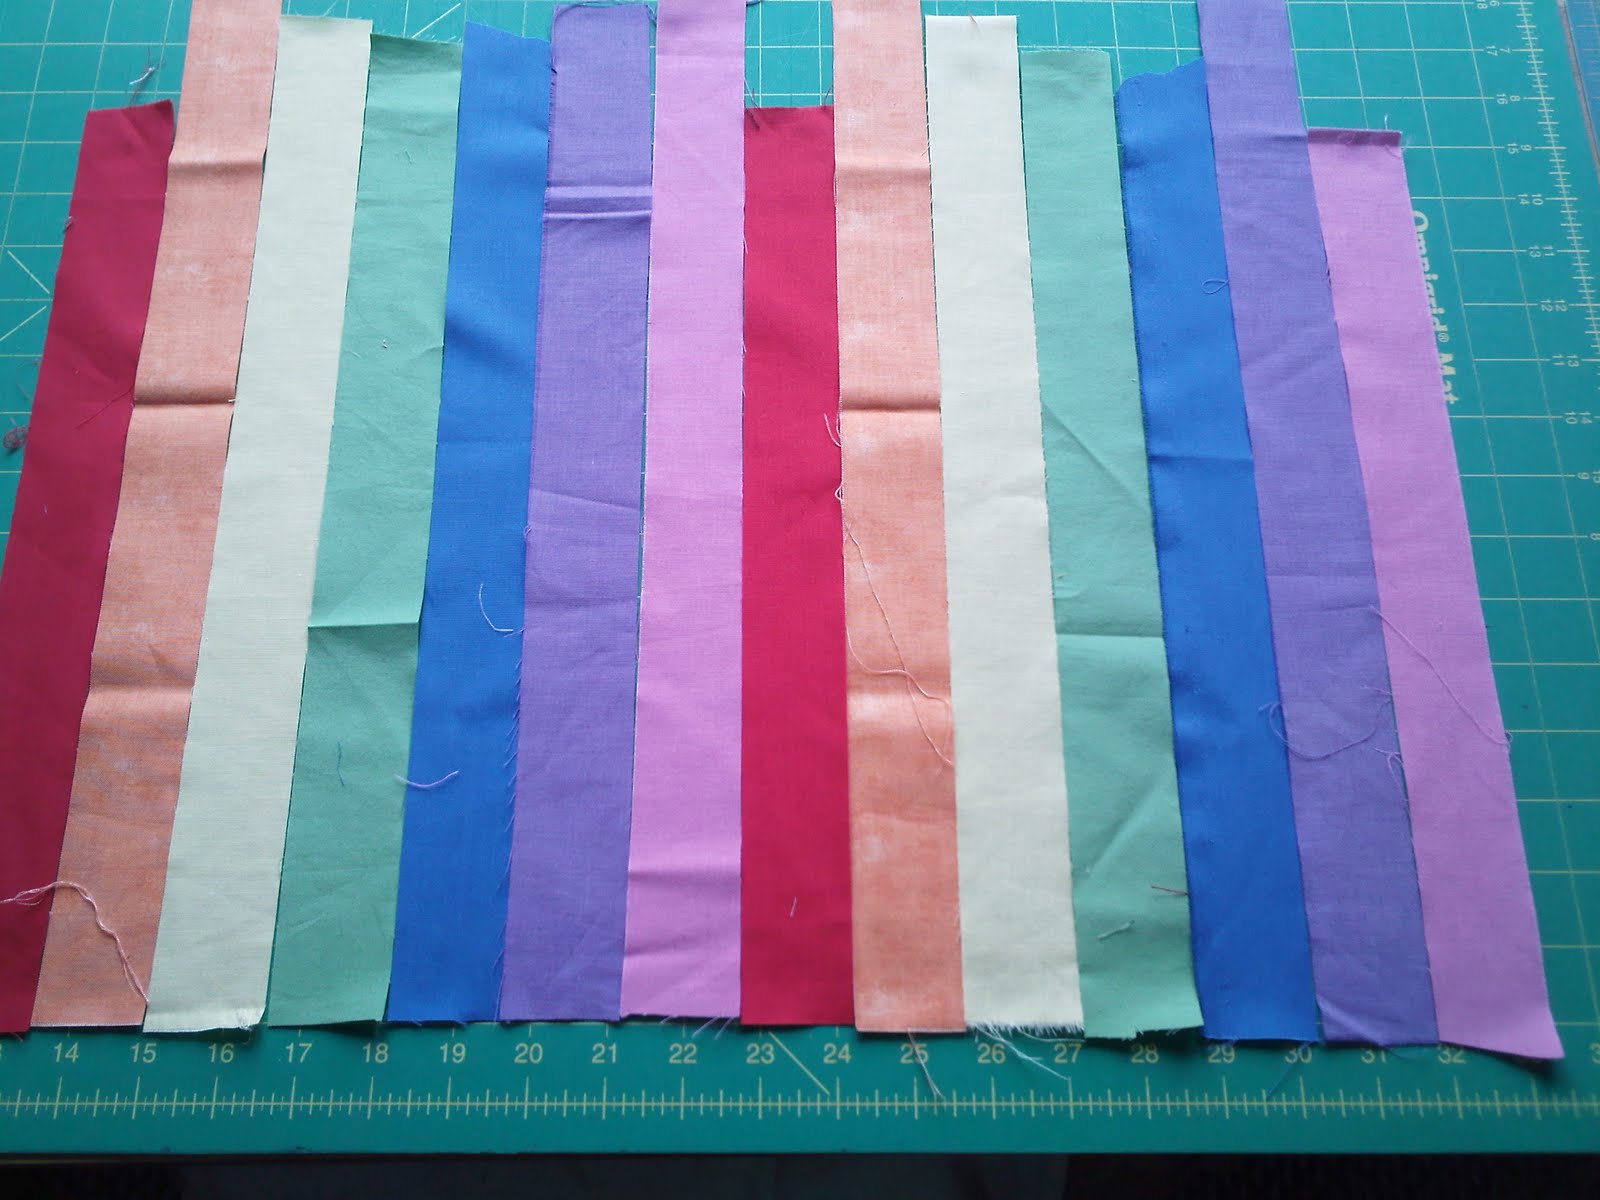
1. Cut 1.5" strips from your rainbow fabrics (Red, Orange, Yellow, Green, Blue, Indigo/Purple, Violet/Pink = 1 group of strips).  The strips should be approx. 13" long (you can cut longer but I find sewing longer, thin strips increases the chances of wobbly seams!).

I have 2 groups of strips laid out here.

2. Sew each group of strips together using a 1/4" seam.  You can have as many 'groups' of rainbow strips as you wish (for my 37" square quilt I needed approx 7 groups). 


3. Join the groups together and iron the seams open.


4. Lay the piece on your cutting mat with the strips going horizontally across the mat.  Cut 2.5" strips.


5. Join these new strips together, piecing the pink end to the red end so that the rainbow pattern continues in order.  You should now have a long rainbow patterned strip.


6. To calculate how much binding you need to go round your quilt, add up the 4 sides of your quilt & add 10".  Keep adding strips to your rainbow binding until you have enough.


7. Iron the long rainbow strip in half lengthways.  Because of so many internal seams, I found it easier to pin the top of the strip as I was folding, making sure the seams stay open inside the binding.  Then I ironed the binding flat with the pins still in.


8. If you are not sewing your binding onto your quilt straight away, it is a good idea to wrap it around a piece of cardboard to keep it flat.


9. You are now ready to sew your binding onto your quilt.  There are numerous tutorials out there on how to do this.  Check out Red Pepper Quilts and Crazy Mom Quilts to name but a few.

Have fun making your own rainbow binding.

Tuesday 19 April 2011

Eye Spy ...... a finished quilt!

At long last I got it finished!  Hooray!


After outline quilting the larger squares, I free motioned the outer border and around the border squares. 

However, I didn't realise until after I'd finished that the tension in my bobbin wasn't quite right and the pale yellow bobbin thread was showing on top - aaaah! (never attempt free motion quiliting at 9.30pm in poor lighting - lesson learned!).

So the next morning I unpicked all the previous evenings' work (weep!).

I had to machine wash & dry the quilt to get rid of the tell tale stitch holes.  This resulted in the much sought after (if not premature) crinkly look!  So that ruled out any more free motion quilting.

So I ended up doing more outline quilting and in the ditch quilting.  Not very exciting but I'm still pleased with the end result.


I'm particularly proud of my rainbow binding, which will become my first blog tutorial (watch this space!).

So first Eye Spy quilt complete.  Let the games begin!